15 Genius Tips to Nail the No-Makeup Makeup Look Like a Pro

The no-makeup makeup look is one of beauty’s greatest illusions: it’s not about wearing no makeup—it’s about wearing the right makeup, in all the right places, so no one can tell you’re wearing any at all.
It’s fresh, it’s effortless (or at least it looks that way), and it’s the go-to look for everything from 8 AM meetings to Sunday brunches.
But here’s the catch: making your skin look naturally radiant, your lashes subtly defined, and your lips just bitten without looking like you’re wearing anything? That takes skill.
In this guide, we’ll walk through the genius tips that make this look work—from skin prep that creates the perfect base to formulas that melt in seamlessly. We’ll also cover the tools that actually help (because yes, the right one makes all the difference), and show you how to apply just enough product to enhance your features without covering them up.
It’s everything you need to look like you woke up flawless even if you and your concealer know the full story.
Table of Contents
- Prep Skin For a Natural Glow
- Create a Seamless Base
- Add Natural Dimension
- Soft Definition for Eyes and Brows
- Final Touches for a Flawless Finish
Prep Skin For a Natural Glow
If your skin isn’t in the right condition, even the best makeup won’t sit right. Think of this step as laying the foundation before the foundation. Smooth, well-prepped skin makes everything you apply after look more natural, last longer, and blend more easily. Whether you’re dealing with dryness, texture, or excess shine, these first three tips focus on simple, effective ways to get your skin ready for that barely-there finish.
Tip 1: Exfoliate With the Right Acids

If your makeup clings to dry patches or settles into texture, it’s time to reassess your exfoliation.
Skip harsh scrubs. Instead, use chemical exfoliants that smooth skin without damage:
-
Dry or sensitive skin: Look for lactic acid or polyhydroxy acids (PHA). Try: The Inkey List Lactic Acid or Glow Recipe PHA + BHA Toner (used 2–3x/week at night).
-
Oily or textured skin: Use salicylic acid (BHA) to unclog pores. Try: Paula’s Choice 2% BHA Liquid Exfoliant or COSRX BHA Blackhead Power Liquid.
Avoid exfoliating the morning of makeup—do it the night before so skin is calm and smooth. And don’t forget small textured areas like around the nose and brows.
Tip 2: Choose the Right Moisturizer

Your moisturizer shouldn’t just hydrate—it should create a smooth, balanced surface that makeup can grip.
- For dry skin, look for creams with ceramides, glycerin, or squalane—they strengthen the barrier and lock in moisture. Try: CeraVe Moisturizing Cream or The Ordinary Natural Moisturizing Factors + HA.
- For oily or combination skin, go for lightweight gels with niacinamide or panthenol. Try: La Roche-Posay Toleriane Sensitive Fluid or Dr. Althea 345 Relief Cream.
Avoid rich oils or silicone-heavy primers right after—too much slip can cause foundation to pill or slide.

Apply moisturizer, then wait until it’s fully absorbed—skin should feel supple, not sticky—before moving on to makeup. For even better prep, you can use the blendSMART Skincare Kit to apply your moisturizer more evenly and boost absorption, helping create a smoother, more polished base before you start makeup.
Tip 3: Apply Sunscreen That Plays Well With Makeup

If you're wearing makeup during the day, SPF is non-negotiable. But the wrong sunscreen can ruin your base before you even start—causing pilling, greasiness, or patchiness.
Look for lightweight, non-greasy formulas with a natural finish. Great options: La Roche-Posay Anthelios UVMune 400, Supergoop! Unseen Sunscreen, or Beauty of Joseon Relief Sun.
Avoid overly emollient or silicone-heavy SPFs right before makeup—they can make the product slide.
Pro tip: Let sunscreen absorb fully for 5–10 minutes before applying base. If you’re in a rush, blot with a tissue before your next step to remove excess shine without disturbing protection.
Tip 4: Use Primer Only Where You Need It

Primer can make a big difference—but only when applied with intention. You don’t need a full face of it. Focus on areas where makeup tends to break down: the T-zone, around the nose, or dry patches.
For oil control and smoothing, try blendSMART Camera Ready Foundation Primer. It minimizes fine lines, controls shine, and creates a smooth, matte base that works across all skin types.
Prefer a glowier look? Use a hydrating primer like Milk Hydro Grip or Glossier Futuredew just on dull or dry areas. Don’t layer too thick—just a thin amount is enough.
Pro tip: Let your primer set for a full minute or two before applying your base to prevent pilling and help makeup grip better throughout the day.
Create a Seamless Base
This is where the magic happens—subtle coverage that smooths, evens, and blends into your skin without looking like makeup at all. It’s less about layering and more about intention: the right textures, placed only where needed, and applied with a light hand. When your base is done right, no one notices your makeup—they just notice how good your skin looks.
Tip 5: Start With a Skin Tint or Light Foundation

Skip heavy foundations. For a no-makeup look, you want coverage that lets skin texture and tone peek through.
Choose a sheer, dewy product that evens things out without masking your face. Try:
- blendSMART Tinted BB Cream (lightweight with SPF)
- MAC Face & Body Foundation (buildable but sheer)
-
The Ordinary Serum Foundation (great budget option)
Start at the center of your face—around the nose, chin, and between the brows—then blend outward with your fingers or a soft brush. Skip areas that don’t need it.
Pro tip: Mix your tint with moisturizer for even less coverage and a smoother finish on dry or textured skin.
Tip 6: Spot-Conceal After Everything Else

You don’t need foundation everywhere—just fix the spots that stand out.
Use a concealer that blends well, matches your skin tone and only where it’s needed: under the eyes, around the nose, оr over blemishes.
Go for a creamy formula like Tarte Shape Tape Radiant, NARS Soft Matte Complete, or Maybelline Fit Me Concealer.
Apply with your fingertip or a small brush and tap—don’t smear. Blend only the edges so the coverage stays put and doesn’t look obvious.
Pro tip: Let it sit for 30 seconds before blending. You’ll get more coverage with less product, and avoid overapplying.
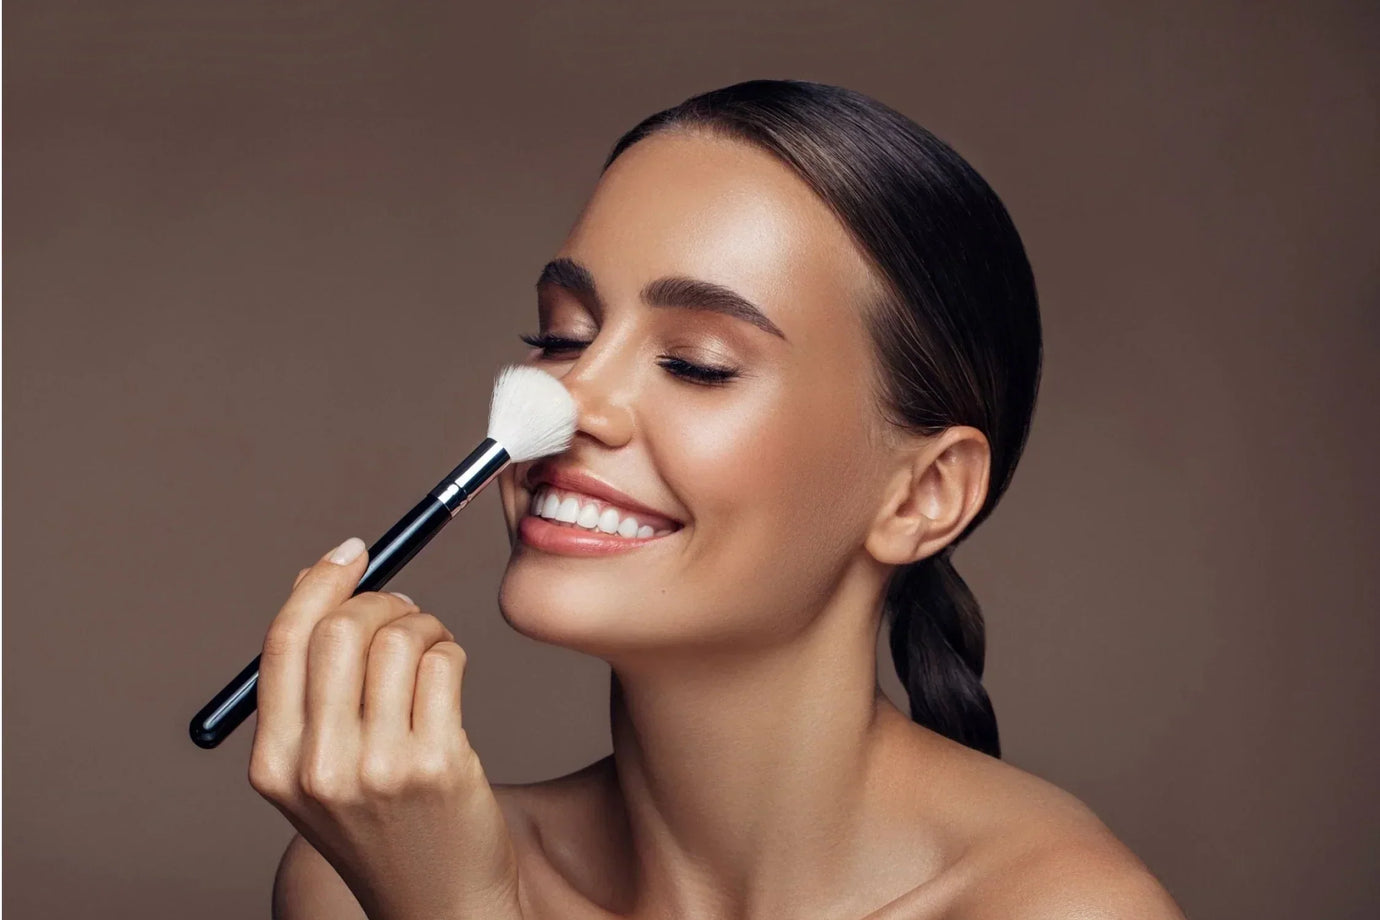
Tip 7: Melt It In With the Right Tool

Even the best base products can look patchy if your blending tool isn’t doing the work. Fingers are fine in a pinch—but if you want that second-skin finish, use a tool that buffs product into your skin, not just across it.
A rotating foundation brush like the one from blendSMART applies ultra-thin layers and blends as it moves, so your tint and concealer don’t sit on top or settle into pores. It’s especially helpful for textured areas like around the nose or chin.
Pro tip: Always blend from the center of the face outward. That’s where most coverage is needed—let the rest fade into skin naturally.
Add Natural Dimension
Once your base is in place, it’s time to restore shape, warmth, and subtle glow. This step lifts your features without making anything look obviously “done.” The goal is soft and seamless—tones that blend into your skin, not sit on top of it. With the right touch, your face looks naturally healthy, balanced, and full of life.
Tip 8: Use Cream Blush for a Natural Flush

Blush is what makes the no-makeup look come alive—it brings warmth and energy back to the face. But powder formulas can sit on the surface and look obvious. Cream blushes melt into skin and mimic the way you naturally flush.
Go for a sheer, buildable formula in a tone that looks like you just came back from a walk—think warm pinks, soft peach, or muted rose. Rare Beauty Soft Pinch, Fenty Cheeks Out, and Milk Makeup Lip + Cheek are all solid picks.
Tap it onto the apples of your cheeks with fingers or a brush, then blend upward and slightly outward.
Pro tip: Apply before powder or bronzer so it blends directly into your base.
Tip 9: Warm Up With Bronzer, Not Contour

Skip harsh lines and shadows—what you need is warmth, not sculpting.
Bronzer should make your skin look healthier, not more defined. Choose a cream or soft-matte formula that’s one to two shades warmer than your natural tone. Saie Sun Melt and Makeup by Mario SoftSculpt are great options that blend easily without leaving streaks.
Apply it where the sun would naturally hit: along your hairline, temples, and upper cheeks. Use your fingers or a fluffy brush and blend into your blush for a seamless, sun-kissed effect.
Pro tip: Dab a little bronzer onto your eyelids—it subtly ties everything together without needing eyeshadow.
Tip 10: Add a Natural Glow With Subtle Highlight

The key to a believable glow is subtlety—no chunky shimmer, no frosty stripes. Look for cream or liquid highlighters that leave a soft sheen, not glitter. Think more “moisturizer caught the light” than “highlighted.”
Tap a small amount onto the high points of your face: tops of the cheekbones, bridge of the nose, and brow bones. Blend with fingers or a brush until it disappears into the skin.
You can also mix a drop of liquid highlighter into your base or moisturizer for an all-over glow. Try subtle formulas like Charlotte Tilbury Hollywood Flawless Filter, Benefit Cookie Highlighter or the blendSMART Perfect Glow Luminizing Powder.
Pro tip: Apply before powder to keep the glow seamless and skin-like.
Soft Definition for Eyes and Brows
Eyes and brows quietly frame the face, but in a no-makeup makeup look, they need to stay soft, light, and intentional. No harsh lines, no heavy pigments. This is where subtle tweaks can make you look more awake, more polished, and more naturally put together, without looking like you tried.
Tip 11: Brush Up Brows, Don’t Overdraw

Overfilled brows instantly kill a no-makeup vibe. Instead, keep them light, lifted, and a little undone.
Start by brushing your brows upward and outward with a clear or tinted gel to see their natural shape. This step alone often adds more structure than you’d expect. If you have sparse spots, lightly fill them in with a fine-tip pencil using short, hair-like strokes.
Try a strong-hold gel like PÚSY Brow Fix Gel. It sets brows in place with a natural-looking, laminated finish. Or, go for something softer like Glossier Boy Brow for a fluffier effect.
Stick to shades that match your brow color or are just a bit lighter for a softer look. Avoid sharp edges or blocky tails—real brows have texture and variation.
Pro tip: Always brush through again after filling to diffuse any harsh lines and keep everything soft.
Tip 12: Use Mascara Only at the Roots

Mascara can easily tip your look from natural to overdone—especially if it’s clumpy or too intense.
For a no-makeup finish, focus on applying mascara just at the roots of your upper lashes. Wiggle the wand at the base, then lightly pull up without fully coating the tips. This adds depth and lift without the obvious “mascara look.”
For an even softer definition, use brown mascara instead of black—it’s less harsh but still eye-opening. Something like YSL Lash Clash in Brown gives just the right amount of definition with a more subtle finish than black.
Pro tip: Curl your lashes first. Even without mascara, a good curl gives your eyes a fresher, more awake look—sometimes that’s all you need.
Tip 13: Use Bronzer or Blush as Eyeshadow

For a true no-makeup look, skip bold eyeshadow altogether. Instead, use the same bronzer or blush you’ve already applied to subtly define your eyes.
Just tap a bit onto your eyelids with your finger or a fluffy brush. It adds warmth and depth without looking like you’re wearing “eyeshadow.” The tone already matches the rest of your face, which keeps everything cohesive and natural.
Cream formulas work beautifully here—they blend in fast and don’t crease when applied lightly.
Pro tip: If your eyes look tired, dab a touch of highlighter or a brightening cream in the inner corners to subtly wake them up.
Final Touches for a Flawless Finish
This last step is where everything clicks into place. After perfecting your base and adding just the right hint of color, it’s time to finish with intention. A few lightweight additions can elevate the whole look—without adding bulk, texture, or shine. Think of it as the final layer that makes your makeup look more like skin, and less like makeup.
Tip 14: Finish with Tinted Balm, Stain, or Gloss

Bold lips feel out of place here. Instead, use a tinted balm, lip stain, or non-sticky gloss in a shade close to your natural lip color. Think sheer pinks, muted berries, or soft peach tones.
Lip stains (like Benefit Benetint) give long-lasting color with a bare-lip feel. While glosses add a healthy sheen that catches the light just right.
Try something hydrating and sheer like KIKO 3D Hydra Lipgloss or blendSMART Pure Glow Lip Gloss for a juicy finish that’s low-effort and lightweight.
Want a little luxury? Dior Lip Glow Oil gives shine and comfort, while adapting slightly to your natural lip tone.
Dab the product on with your finger to keep it soft and diffused.
Pro tip: Once you’re done, press clean hands gently over your whole face to melt everything together and blur any leftover edges. It’s the final trick for making makeup look like skin.
Tip 15: Lock It In With Setting Spray

When everything’s looking good, a setting spray is what seals the deal. It helps your makeup last longer without adding texture, weight, or that dreaded powdery finish. Go for a lightweight, hydrating spray that melts products together and keeps your skin looking fresh—not frozen.
Think Benefit POREfessional Super Setter, Charlotte Tilbury Airbrush Flawless, or blendSMART Matte Mist Setting Spray for a soft matte finish with oil control.
Hold the bottle 8–10 inches away and mist lightly in an X or T motion. One or two passes is all you need.
Pro tip: Use it mid-routine too—spritz after foundation or cream products to help layers blend naturally, then again at the end to set the whole look in place.
Conclusion
The no-makeup makeup look works when each step feels intentional—skincare that preps, base that blends in invisibly, and color that looks like it belongs on your face. When done well, it doesn’t read as makeup at all. It just looks like you, on your best day.
This routine doesn’t rely on heavy coverage or strict rules. It’s flexible, lightweight, and designed to adapt to your skin rather than mask it. And once you’ve got the basics down, it’s easy to customize—add more glow, skip mascara, swap balm for gloss—whatever fits your mood.
The result? Natural, polished, and quietly confident. No overthinking required.
![Best Foundations for Dry Skin [10 Top Picks + Pro Tips]](http://blendsmart.com/cdn/shop/articles/Untitled_design_2.jpg?v=1754050507&width=1380)